In this post I explain the procedure of Jmeter test execution using maven build tool.
Setup:
1. Download and setup java path in your system environment path.
2. Download and install Jmeter.
3. Download and setup maven bin path in your system environment path
After set up above points create a maven project having folder structure “src > test >jmeter”.
Put created Jmeter “.jmx” project in “src > test >jmeter” folder.
Below is pom.xml maven build file which need to put parallel src folder under project
<project
xmlns="http://maven.apache.org/POM/4.0.0"
xmlns:xsi="http://www.w3.org/2001/XMLSchema-instance"
xsi:schemaLocation="http://maven.apache.org/POM/4.0.0
http://maven.apache.org/maven-v4_0_0.xsd">
<modelVersion>4.0.0</modelVersion>
<groupId>jmeter-maven-test</groupId>
<artifactId>jmeter-maven-test</artifactId>
<packaging>jar</packaging>
<version>1.0-SNAPSHOT</version>
<name>jmeter-maven-test</name>
<build>
<plugins>
<plugin>
<groupId>com.lazerycode.jmeter</groupId>
<artifactId>jmeter-maven-plugin</artifactId>
<version>1.4.1</version>
<executions>
<execution>
<id>jmeter-tests</id>
<phase>verify</phase>
<goals>
<goal>jmeter</goal>
</goals>
</execution>
</executions>
</plugin>
</plugins>
</build>
</project>
Open command prompt and go to project and run command “mvn install”. You should see that all maven plugin install in your maven repository.
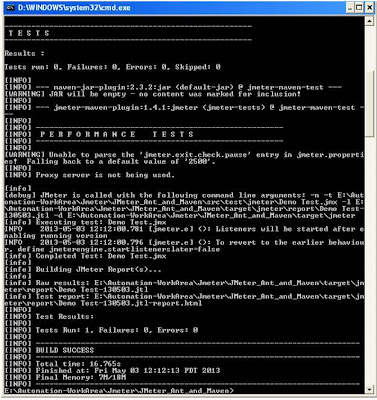
Run command “mvn verify” to execute Jmeter test.
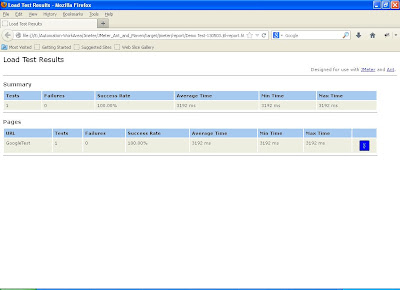
After execution jmeter test report is generated under target>Jmeter>report folder in html format as below screen.


No comments:
Post a Comment
Leave your comments, queries, suggestion I will try to provide solution